

Document issues
Troubleshoot missing documents, upload issues, and document status confusion.
Use this guide when a document is missing, has the wrong status, fails upload, or does not appear where the user expects to find it.
Document issues usually come from the current status tab, document type, upload location, file rules, access scope, or whether the document was uploaded from a student profile, application, or form.
Start from Document Management
Open Documents from the main navigation.
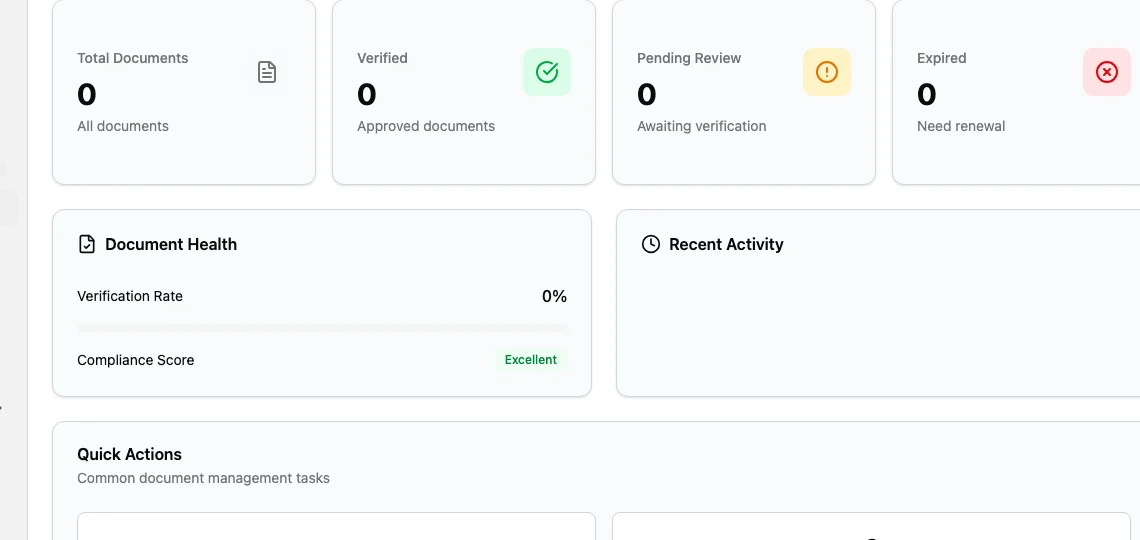
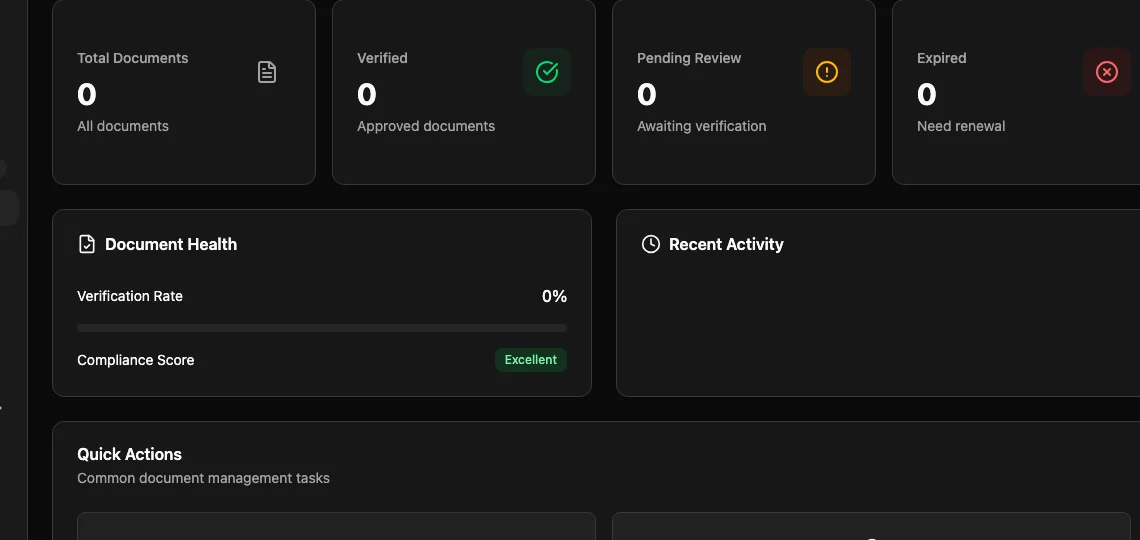
The page opens on Overview. Use Overview for a quick health check before opening the list.
| Overview area | What it tells you |
|---|---|
| Total Documents | How many files are visible to the current user. |
| Verified | Files that have been approved. |
| Pending Review | Files waiting for review. |
| Expired | Files that need renewal. |
| Document Health | Verification rate and compliance score. |
| Quick Actions | Shortcuts for pending and expired files. |
If the user cannot open Documents and sees Access Denied, review their role in Access and permissions.
Check the Documents tab
Select Documents at the top of Document Management to open the list view.
The list has:
| Control | Use it for |
|---|---|
| Status tabs | Switch between All, Pending, Uploaded, Verified, Rejected, Expired, and Archived. |
| Search documents | Search by document name, document number, filename, or visible details. |
| Add filter | Filter by category, document type, or expired-only when options are available. |
| Scope picker | Switch between available scope options, such as All Items or Assigned to Me. |
| Refresh | Reload the current list. |
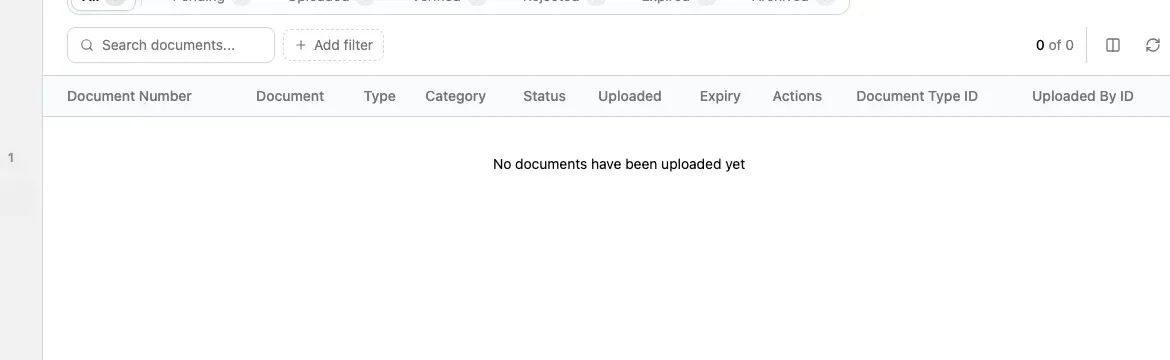
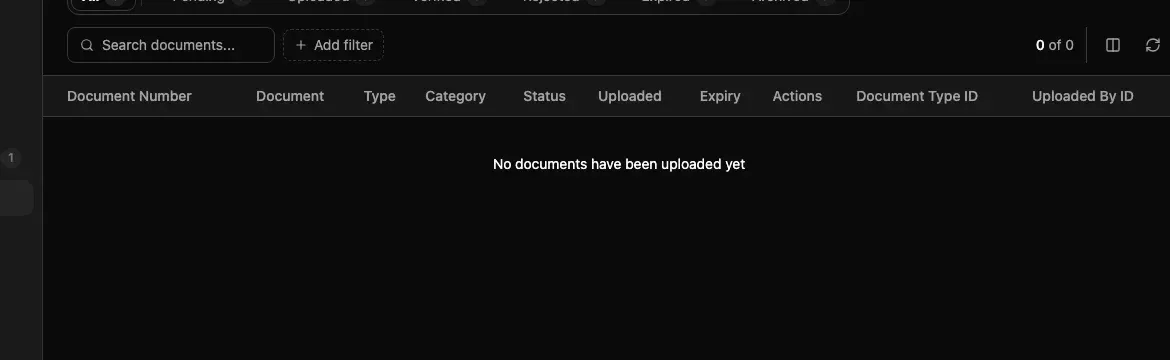
If the list says No documents have been uploaded yet, the current view has no visible documents. Clear search, remove filters, select All, and check the scope picker before deciding the file is missing.
Document is missing
Use this checklist:
| Check | What to do |
|---|---|
| Status tab | Select All, then check Pending, Verified, Rejected, Expired, and Archived. |
| Search | Search by filename, document number, or document type. |
| Filters | Remove document type, category, and expired-only filters. |
| Scope | Use the broadest scope the user can access. |
| Upload location | Check the student profile and the application where the file may have been uploaded. |
| Document type | Search under a similar type if the user may have selected the wrong one. |
| Form upload | Check whether the file was collected through a form field instead of the central list. |
The central Documents list shows documents that exist and are visible to the user. It does not prove that every required file has been uploaded. To find missing requirements, open the student profile or application and compare the required document types with the files already present.
Document appears in the wrong place
Documents can belong to different parts of the workflow.
| Upload location | What it means |
|---|---|
| Student profile | The file belongs to the student and can support multiple applications. |
| Application | The file belongs to one application. |
| Form file-upload field | The file was collected through a configured form field. |
If a visa document was uploaded to the student profile but the application stage expects it under the application, upload or move it through the correct application workflow according to your agency process.
If a general identity file was uploaded to one application but should support several applications, review whether it should be collected on the student profile instead.
Upload button is missing
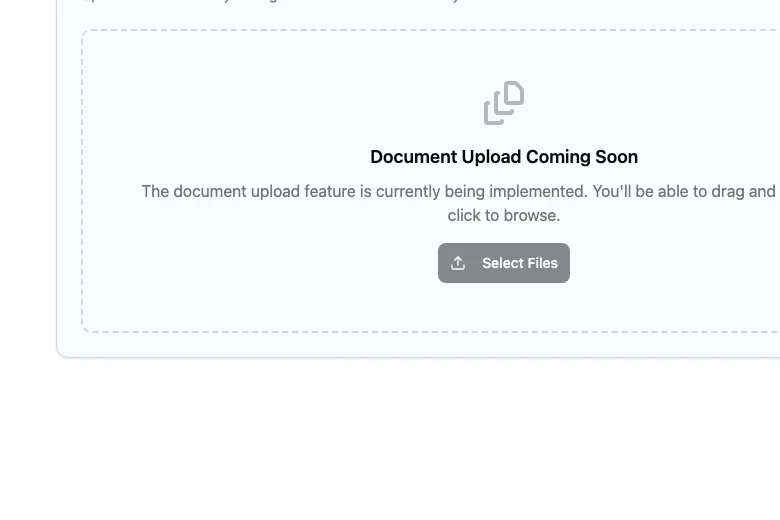
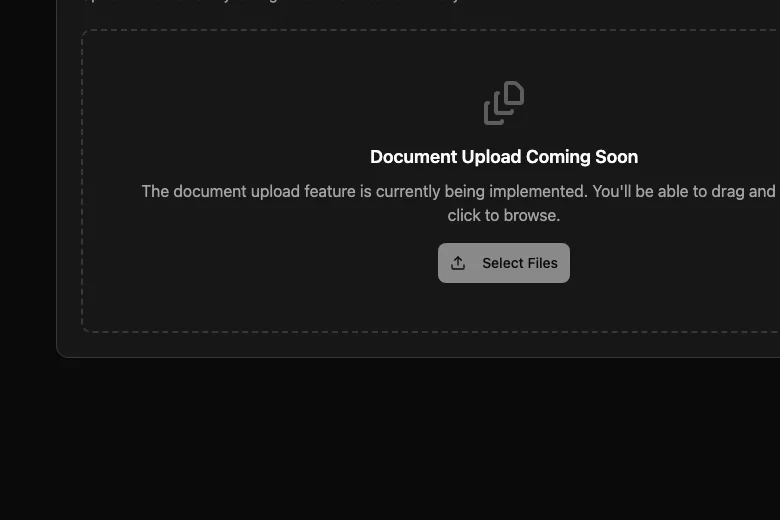
The direct upload route, /t/documents/upload, currently shows a coming-soon
state. Use contextual upload from a student profile, application, or form when
that option is available.
If the user does not see a contextual upload option, check:
| Check | Why it matters |
|---|---|
| Role access | The user needs document upload access. |
| Current location | The user must be allowed to work with the student profile or application. |
| Document type scope | The document type must be available for the chosen upload location. |
| Usage context | The document type may be available only in forms or only in independent uploads. |
| Feature availability | Document storage and document upload features must be enabled. |
Upload fails
Document types control upload rules. Check the selected document type before trying the upload again.
| Rule | What to check |
|---|---|
| Accepted formats | The file extension must be allowed for the selected document type. |
| File size | The file must be inside the minimum and maximum size limits. |
| Maximum files | Multiple-file types have a limit. |
| Front and back mode | Some document types expect both sides of an ID-style document. |
| Expiry date | Some document types require an expiry date. |
| Approval | Some document types need review before they count as ready. |
| Storage settings | The workspace must have enough configured storage capacity. |
Do not rename a file extension just to pass validation. If the document type rules do not match the real document, ask an admin to review the document type.
Status looks wrong
Use document status to decide the next action.
| Status | What it means | Next action |
|---|---|---|
| Pending | The file is waiting for review. | Review the file or ask the responsible user to review it. |
| Uploaded | The upload exists and is ready to be handled. | Confirm whether the file needs review. |
| Verified | The file has been approved. | No action unless it expires or must be replaced. |
| Rejected | The file was not accepted. | Ask for a corrected file or upload the right one. |
| Expired | The file is no longer current. | Request a renewed file. |
| Archived | The file is kept for history. | Do not treat it as the current file. |
If the document should block an application stage, confirm that the stage, checklist, or form is checking the same document type that was uploaded.
User can see the document but cannot review it
This usually means the user can view documents but does not have review or management access.
Ask an admin to check:
| Check | What to confirm |
|---|---|
| Document access level | View Only lets a user see documents but not always change them. |
| Manage Records | Needed for common document update work. |
| Full Control | Needed for higher-risk actions such as delete or export where allowed. |
| Scope | The document must be inside the user's scope. |
| Location | The document's student profile or application must belong to a location the user can work with. |
See Permissions and scope for the admin setup.
Admin checks
Admins should review setup in this order:
- Confirm the document type exists and is active.
- Confirm the document type is available for student profile, application, or both as needed.
- Confirm the usage context matches the upload path.
- Confirm accepted formats, file size, maximum file count, and expiry rules.
- Confirm the user's role includes document upload or review access.
- Confirm storage settings are healthy.
- Test with a safe sample file.
Related guides
| Guide | Use it for |
|---|---|
| Documents | Upload, review, and track files in daily work. |
| Document types | Configure file categories, upload rules, expiry, approval, and versioning. |
| Storage settings | Review document storage configuration. |
| Checklists | Connect document review to required work. |
| Application stages | Troubleshoot document-related stage blocks. |
| Access and permissions | Check whether a user can see, upload, review, or manage documents. |