

Regional Settings
Configure country and region defaults for an Edmissa workspace.
Regional Settings control workspace defaults that depend on the country, region, or operating market your agency works in. Use this guide when you need to confirm how Edmissa should handle regional choices such as date format, currency, time zone, and other local settings shown in the Regional Settings page.
This guide also helps study abroad agencies keep wider country and region variation decisions in one place. For example, a Pakistan office may need a different time zone from a UAE office, a Canada destination workflow may need a different currency reference in reporting, or a branch that serves UK applications may need local rules documented before users start daily work.
What this guide helps you configure
Use this guide to:
- Open the Regional Settings page.
- Choose between the Predefined and Custom tabs.
- Save regional defaults with Save Regional Settings.
- Use Manage Locations when the change belongs to a branch or office.
- Decide which country or region differences should be documented before the team uses the workspace.
Only add approved regional decisions. If a country-specific rule changes forms, fields, pipelines, checklists, document types, notifications, or user access, confirm that change with the right product or operations owner before users rely on it.
Before you start
Prepare these decisions before changing Regional Settings:
| Item | Why it matters |
|---|---|
| Primary operating country or region | The first version should match the agency's main office or operating market. |
| Time zone needs | Users need dates, reminders, and activity times to make sense for daily work. |
| Date and time expectations | Students and users should see dates in a format the team understands. |
| Currency expectations | Currency defaults should match the way the agency reviews fees, payments, and reporting. |
| Branch differences | If each branch needs its own address, users, or assignment rules, configure Locations instead. |
| Destination differences | If destination countries need different application steps, document those differences before changing pipelines or checklists. |
Open Regional Settings
Use this path when you want to review country and region defaults:
- Open Settings.
- Go to Regional Settings.
The page title is Regional Settings. The direct route is
/t/settings/regional.
The page shows two tabs:
| Tab | Use it when |
|---|---|
| Predefined | You want to start from a ready-made regional setup shown in Edmissa. |
| Custom | You need to review or adjust settings manually because the ready-made choice does not match the agency's needs. |
Select Save Regional Settings after reviewing the selected tab. Changes are not complete until this action is saved.
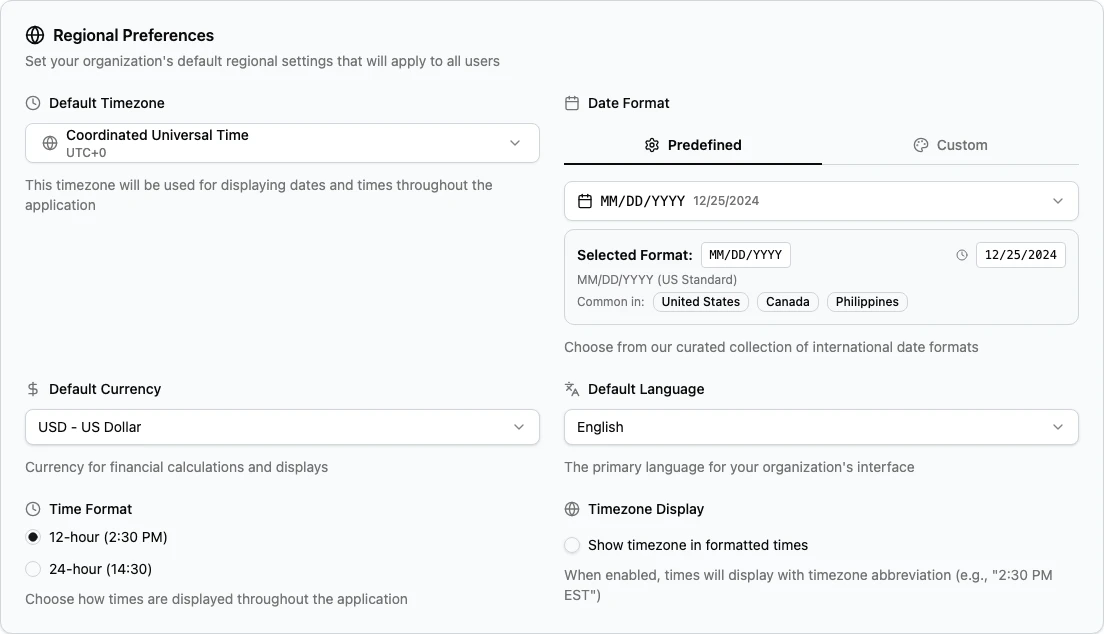
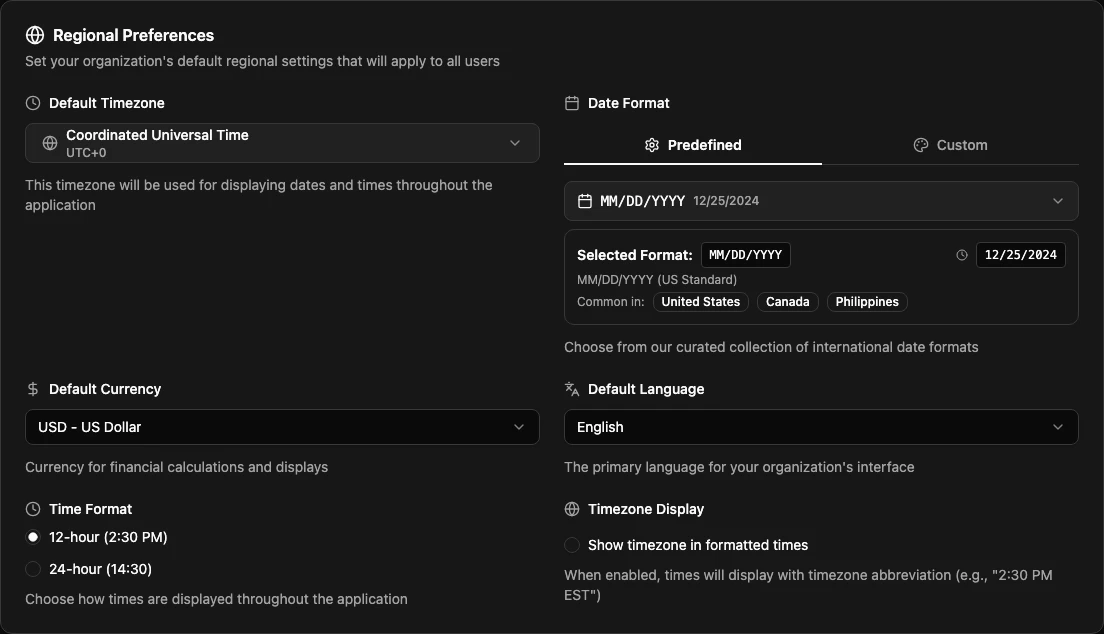
Use Manage Locations when the change is about branches, offices, operating locations, or location-based assignment. Regional Settings should set workspace regional defaults. Locations should describe where the agency operates and how users are assigned.
Recommended first version
For a new study abroad agency workspace, keep the first version simple:
- Choose the regional setup that matches the agency's main operating country or region.
- Confirm the time zone used by the team for daily work.
- Confirm the date and time format users expect to see.
- Confirm the currency default used for fees, payments, and reporting.
- Use Manage Locations to add branches or offices.
- Keep destination-specific application differences documented, then configure them in the correct workflow guide.
Avoid creating many custom regional variations before the team has reviewed the basic study abroad workflow. Start with the main office defaults, test them with sample work, and add local differences only when the team can explain why they are needed.
What belongs where
| Need | Configure it in |
|---|---|
| Workspace time zone, date format, time format, currency, language, or week start when shown on the Regional Settings page | Regional Settings |
| Branches, offices, location assignment, and location-based reporting | Locations |
| Reference numbers for student profiles, applications, Leads, documents, tasks, and approvals | Number Formatting |
| Application steps, stage rules, and destination-specific workflow differences | Pipelines and Pipeline stages |
| Student profile fields, application fields, and field options | Fields |
| Required files and document labels | Document types |
| Checklist items for local process differences | Checklists |
| Notification wording or timing for a country, region, or team | Notifications |
Country and region variation examples
Regional Settings are only one part of country and region configuration. Some variation examples belong in Regional Settings, while others belong in workflow, location, or field setup.
| Example | Where to handle it |
|---|---|
| The main office works in Pakistan time. | Regional Settings, if time zone is shown for the workspace. |
| Users expect day-first dates for student follow-up dates. | Regional Settings, if date format is shown for the workspace. |
| Fees are reviewed in a default currency. | Regional Settings, if currency is shown for the workspace. |
| A UAE office has a different address, users, and branch reporting needs. | Locations. |
| A Canada destination workflow needs extra review before an application is submitted. | Pipeline stages, checklists, or approvals. |
| A UK application requires a different document label or checklist item. | Document types or checklists. |
| A branch needs different Lead source reporting. | Lead sources and reporting setup, after the branch decision is approved. |
These are examples, not a complete list of available fields or settings. Always check what is visible in your workspace before documenting a regional rule.
Test after setup
After saving Regional Settings:
- Refresh the workspace and reopen Regional Settings.
- Confirm the selected Predefined or Custom setup is still shown.
- Create or open sample Leads, student profiles, applications, tasks, and reports that show dates, times, or currency.
- Confirm users in each branch understand which defaults apply to them.
- Review one sample destination workflow if regional decisions affect pipeline stages, document types, checklists, or notifications.
Do this review before users create live work. Regional choices are easiest to correct before teams have many student profiles, applications, and reports in use.
Related guides
| Guide | Use it for |
|---|---|
| Setup overview | The recommended order for configuring a new Edmissa workspace. |
| Locations | Branches, offices, assignment, access, and reporting by location. |
| Number Formatting | Reference numbers for student profiles, applications, Leads, documents, tasks, and approvals. |
| Pipelines | Application workflows that may differ by destination or operating market. |
| Pipeline stages | Stage requirements, approvals, movement rules, and local workflow checks. |
| Document types | Document labels and required files for different country or destination needs. |