

Lead Sources
Configure where Leads come from so your team can track source quality across student profiles, forms, integrations, and reports.
Lead Sources help admins keep a clear list of the places where Leads come from. A source can be a website form, study abroad fair, referral partner, social campaign, office walk-in, phone call, or any other intake channel your team wants to track.
Good Lead Source setup helps your team answer practical questions:
- Which channels create the most Leads?
- Which sources create students who are a good fit?
- Which forms and integrations need a default source?
- Which source names are duplicated or unclear?
This guide covers how to create Lead Sources and keep them useful for daily work.
What this guide helps configure
Use Lead Sources to support:
| Area | How Lead Sources help |
|---|---|
| Leads | Show where each Lead came from so users have context before follow-up. |
| Student profiles | Keep source information available as the student moves from initial interest to application work. |
| Forms | Give intake forms a consistent way to collect or pass along source details. |
| Integrations | Map incoming Leads from connected channels to the right source. |
| Reports and filters | Review Lead volume and quality by channel, campaign, location, or partner. |
Before you start
Prepare the source list before creating many options.
| Item | Why it matters |
|---|---|
| Main intake channels | Start with the channels your team actually uses, such as website, phone, social forms, agency partners, events, and walk-ins. |
| Naming rules | Decide how detailed names should be before users begin selecting them. |
| Integration plan | Know which connected forms or external channels should send Leads into each source. |
| Reporting needs | Decide whether reports need broad channels, detailed campaign names, or both. |
| Admin owner | Choose who can approve new source names so the list stays clean. |
Avoid creating a separate source for every small variation unless your team will report on that variation. A shorter, clearer list is easier for users to select and easier for admins to maintain.
Open Lead Sources
Use this path when you want to create or maintain Lead Sources:
- Open Settings.
- Go to Lead Sources.
The direct route is /t/settings/lead-sources.
The page title is Lead Sources.
The visible actions are:
| Action | What it does |
|---|---|
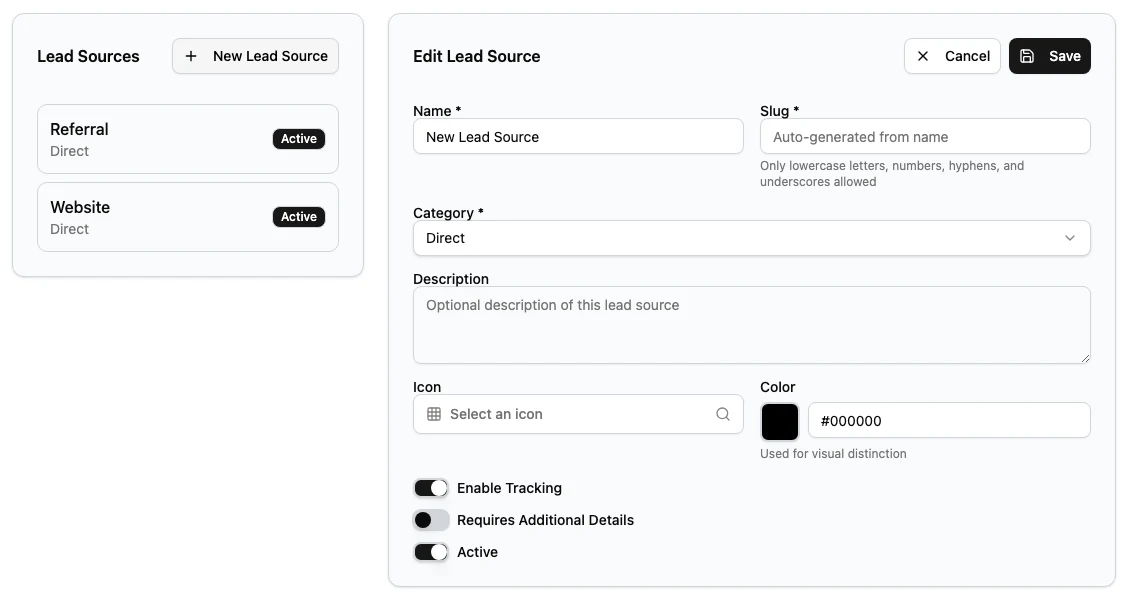
| New Lead Source | Starts a new Lead Source. |
| Save | Saves your Lead Source changes. |
Create a Lead Source
Use this procedure when your team needs to track a new intake channel.
- Open Settings.
- Go to Lead Sources.
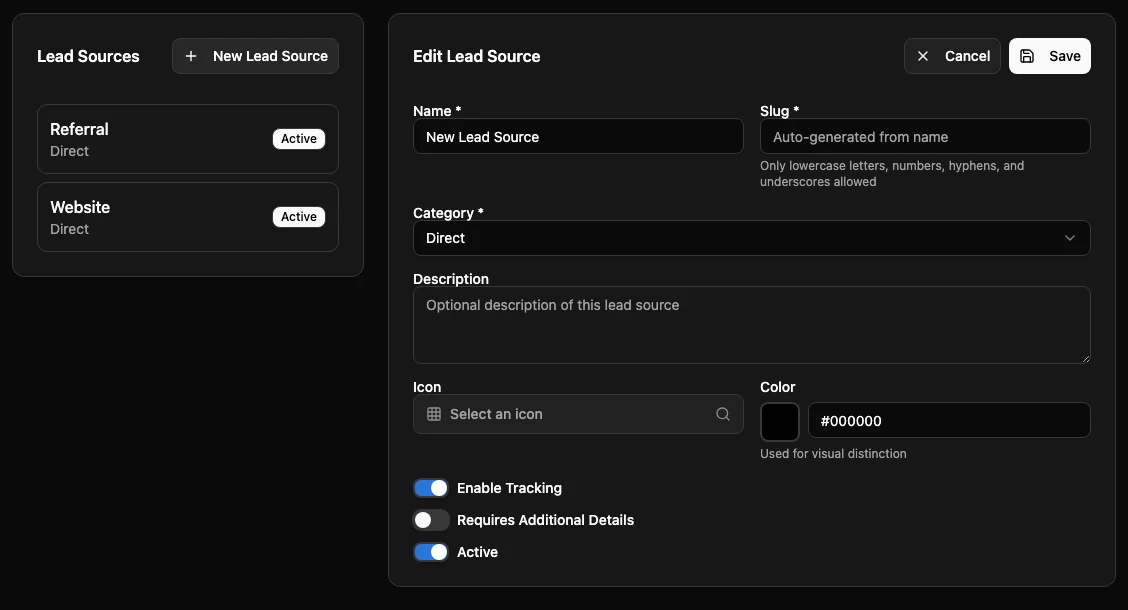
- Select New Lead Source.
- Add the source details requested on the page.
- Select Save.
After saving, use a test Lead or a normal intake workflow to confirm the new source appears where users need it. If the source is connected to a form or integration, test that workflow too.
Naming guidance
Lead Source names should be clear to the users who select them and useful to the managers who report on them.
Use names that are:
| Quality | Guidance |
|---|---|
| Clear | Users should understand the source without asking an admin. |
| Consistent | Similar channels should use the same format. |
| Reportable | The name should match how the team wants to compare results. |
| Stable | Avoid temporary labels that will be confusing later. |
| Short | Keep names easy to scan in lists, forms, and filters. |
Decide whether your workspace needs broad source names or detailed source names.
| Approach | Example names | Use it when |
|---|---|---|
| Broad channel names | Website, Facebook, Referral, Education Fair, Walk-in | Managers only need to compare major channels. |
| Detailed source names | Website: Contact Form, Facebook: Lead Form, Referral: Current Student, Event: UK Study Fair | Managers need to compare specific forms, campaigns, partner types, or events. |
These examples are only examples. Use names that match your agency workflow and reporting needs.
For study abroad agencies, useful examples may include:
| Example Lead Source | Good fit |
|---|---|
| Website: Contact Form | Leads submitted from the agency website. |
| Facebook: Lead Form | Leads captured from a Facebook form. |
| Instagram: Direct Message | Leads that begin through Instagram messages. |
| Leads that first contact the team through WhatsApp. | |
| Referral: Current Student | Leads referred by an existing student. |
| Referral: Alumni | Leads referred by a former student. |
| Agency Partner | Leads sent by another agency or referral partner. |
| Event: Study Abroad Fair | Leads collected at an education fair or expo. |
| Walk-in: Main Office | Leads who visit an office in person. |
| Phone Call | Leads that begin with an inbound call. |
Do not create duplicates such as Website, Web Site, Website Form, and Site Form unless each one has a clear reporting purpose. Choose one format and use it consistently.
Connect Lead Sources to daily work
Lead Sources are most useful when they are connected to the places where Leads enter Edmissa and the places where teams review performance.
| Area | Admin guidance |
|---|---|
| Leads | Make sure users know which source to choose when they create or update a Lead. |
| Student profiles | Keep source information visible where users review student context and follow-up history. |
| Forms | Review intake forms so source information is collected or assigned consistently. |
| Integrations | Map each connected channel to the correct Lead Source when the integration supports source mapping. |
| Reports and filters | Use source values to compare intake volume, follow-up outcomes, and source quality. |
If a form or integration sends many Leads into the workspace, confirm its source setup before users rely on the data. This prevents large batches of Leads from being grouped under the wrong source.
Cleanup and governance
Lead Sources affect reporting, forms, and integrations, so keep the list controlled.
Use these practices:
| Practice | Why it helps |
|---|---|
| Assign an owner | One admin should approve new source names. |
| Review the list regularly | Remove confusion before duplicate names spread into reports. |
| Use one naming pattern | Users can choose the right source faster. |
| Keep campaign detail intentional | Add campaign-level sources only when the team will report on them. |
| Check connected workflows first | Forms and integrations may rely on existing source names. |
Before renaming a source, check whether users, forms, integrations, or reports depend on that exact name. If a source name must change, tell the team what the new name means and when to use it.
Test after setup
After creating or updating Lead Sources, test the setup before considering it ready.
- Create or update a test Lead through the normal workflow your team uses.
- Confirm the correct Lead Source can be selected or assigned.
- If a form should provide the source, submit a test form.
- If an integration should provide the source, send a test Lead from that connection.
- Check that users can filter or report by the source as expected.
- Review a related student profile and confirm the source context is clear.
If the wrong source appears, review the source name, form setup, and integration mapping before real Leads are added.
Related guides
| Guide | Use it for |
|---|---|
| Setup overview | Understand where Lead Sources fit in the recommended setup order. |
| Integrations | Connect external Lead channels and map incoming source information. |
| Form templates | Control how intake forms collect or show source information. |
| Student Fields | Configure student fields used on student profiles and forms. |
| Application pipelines | Connect Lead intake to application workflows after a student is ready to apply. |