

Integrations
Configure Apps, Lead capture integrations, custom webhooks, field mapping, assignment, and activity review for your workspace.
Integrations help Edmissa receive Leads from trusted external sources and turn them into useful work for your team. Use them for channels such as Facebook Lead Ads, website forms, partner systems, and other tools that can send data to Edmissa.
This guide explains the first admin setup for integrations:
- Connect provider accounts from Apps.
- Create Lead capture integrations.
- Connect Facebook Lead Ads forms.
- Create custom webhooks for website and partner forms.
- Map incoming fields to student fields and application fields.
- Configure Lead Source, location, assignment, duplicate handling, and validation.
- Review Activity and retry failed events.
Before you start
Prepare these items before creating integrations.
| Item | Why it matters |
|---|---|
| Admin access | Integration setup is an admin setting. Make sure the person configuring it can manage workspace settings. |
| Lead Sources | Decide which Lead Source should be assigned to each channel, such as Website Contact Form or Facebook Lead Form. |
| Student fields | Create the student fields that incoming data should populate, such as name, email, phone, nationality, or study interest. |
| Application pipeline | Choose a pipeline if the integration should also create applications. |
| Assignment plan | Decide whether incoming Leads stay unassigned, go to one user, or rotate across a team. |
| Duplicate policy | Decide whether matching Leads update existing student profiles, get skipped, or create a new student profile. |
| Test data | Keep a safe test Lead ready so you can confirm the setup before live submissions arrive. |
For Facebook, also prepare:
| Item | Why it matters |
|---|---|
| Facebook Business access | The connected account needs access to Facebook Lead Ads. |
| Page admin access | Edmissa must be able to read the Facebook Page that owns the Lead Gen Form. |
| Lead Gen Form | Create the form in Facebook before connecting it in Edmissa. |
For custom webhooks, also prepare:
| Item | Why it matters |
|---|---|
| Sending system owner | Someone should be able to update the website, partner tool, or middleware that sends data. |
| Payload fields | Know the JSON keys the external system will send, such as email, firstName, or formId. |
| Security choice | Decide whether to use signature verification, IP restrictions, or User-Agent validation. |
Open Integrations
Use this path to manage integrations:
- Open Settings.
- Go to Integrations.
The direct route is /t/settings/integrations.
The Integrations area has these tabs:
| Tab | Route | Use it for |
|---|---|---|
| Integrations | /t/settings/integrations | View configured integrations, create a new integration, edit mappings, enable or disable integrations, and review connection health. |
| Apps | /t/settings/integrations/apps | Authorize provider accounts, such as Facebook Lead Ads. |
| Activity | /t/settings/integrations/events | Review incoming events, errors, retries, and payload details. |
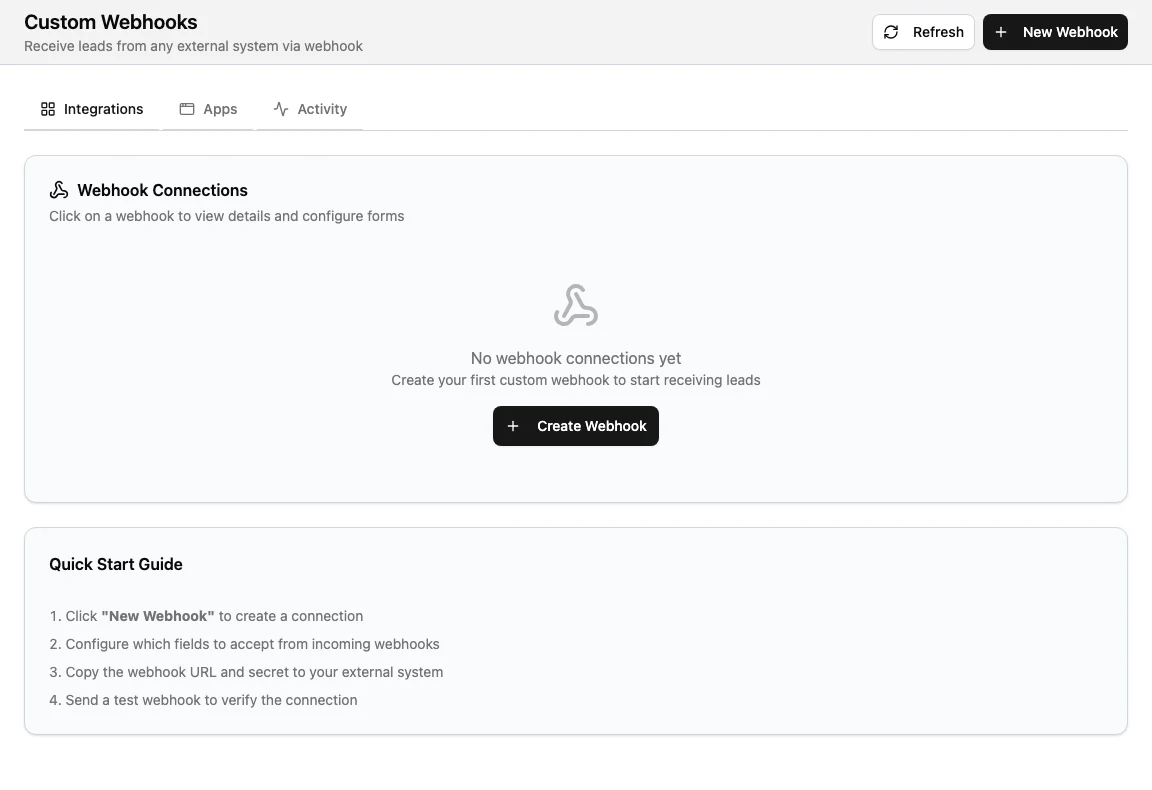
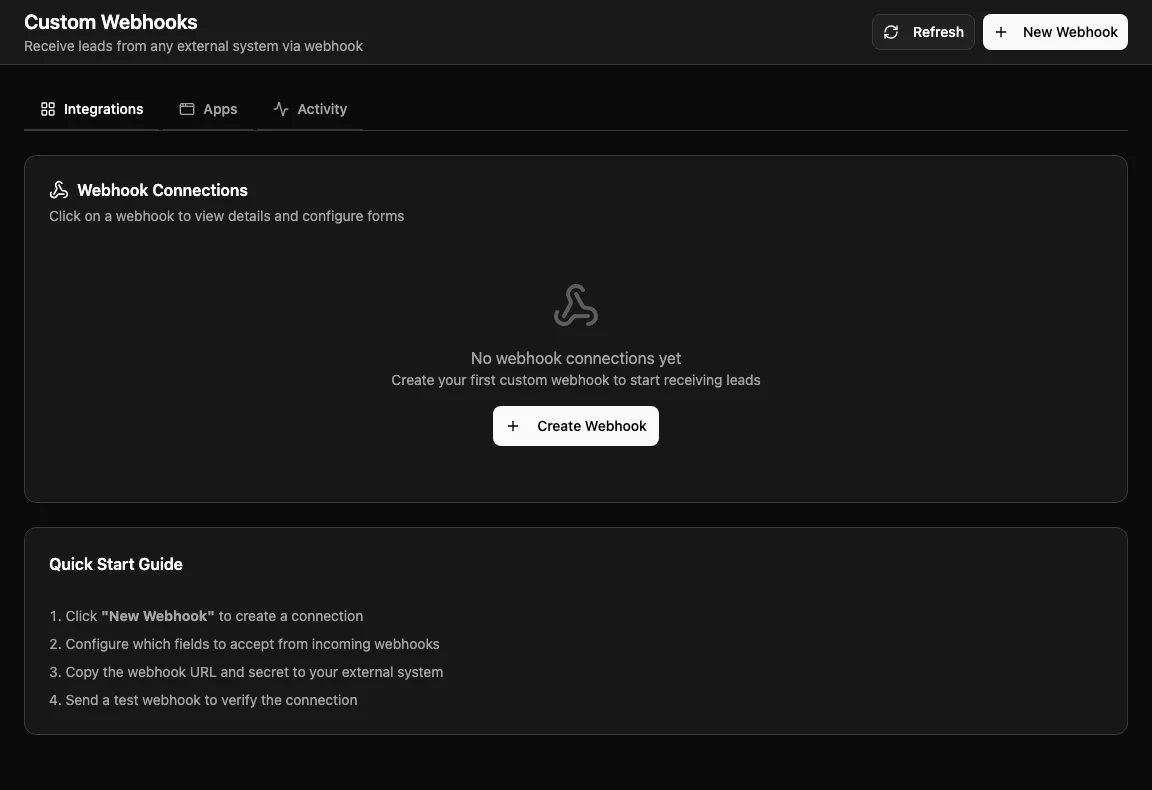
Custom Webhooks also have a dedicated page at
/t/settings/integrations/webhook. It sits under the Integrations area and is
used to create and manage webhook connections.
If integrations are not enabled for your workspace, Edmissa may show an upgrade or feature unavailable message instead of the setup screens.
How the pieces fit together
An integration setup usually has three layers.
| Layer | What it means | Example |
|---|---|---|
| App | A connected provider account that Edmissa is allowed to use. | A Facebook account connected from Apps. |
| Integration | A specific Lead capture setup that points to a source and target. | One Facebook Page and Lead Gen Form mapped into Edmissa. |
| Activity | The event history created when data is received and processed. | A completed event, a duplicate Lead event, or a failed validation event. |
For website forms and partner tools, the webhook connection includes the URL, security settings, target setup, field selection, and assignment settings.
For Facebook Lead Ads, the App connection is created first. Then each Facebook Lead Gen Form is configured as its own integration.
Connect an app
Use Apps when an external provider requires authorization before Edmissa can receive Leads from it.
- Open Settings.
- Go to Integrations.
- Open the Apps tab.
- Find Facebook Lead Ads.
- Select Connect.
- Complete the Facebook authorization flow.
- Return to Apps and confirm the account appears under Connected Accounts.
The Facebook Lead Ads card can show connected accounts with status labels such as Active, Pending, Error, Expired, Disconnected, or Inactive.
Use the account actions this way:
| Action | Use it when |
|---|---|
| Test | You want Edmissa to check whether the Facebook account is working. |
| Reconnect | The account needs to be reauthorized with Facebook. |
| Refresh token | The account token has expired and the option appears. |
| Disconnect | You want to remove the account. Integrations that use it are deactivated, but existing Leads remain in Edmissa. |
The Apps page may also show providers such as Google or Zapier as Coming soon. Do not rely on those providers until they are available in your workspace.
Create a Facebook Lead Ads integration
Use this when a Facebook Lead Gen Form should create Leads in Edmissa.
- Open Settings.
- Go to Integrations.
- Confirm the Facebook account is already connected on the Apps tab.
- Return to the Integrations tab.
- Select New integration.
- In the Account step, choose the connected Facebook account.
- In Page and Form, choose the Facebook Page and Lead Form.
- In Target, choose the pipeline, Lead Source, and default location when needed.
- Decide whether Edmissa should create student profiles automatically.
- Decide whether Edmissa should also create applications. This requires a pipeline.
- In Field Mapping, map Facebook form fields to Edmissa fields.
- In Assignment, choose how new Leads should be assigned.
- Configure duplicate handling and field validation.
- Review the setup and submit it.
When editing a Facebook integration later, the Facebook account, Page, and Lead Form are locked. To use a different Page or form, create a new integration. You can still update target settings, field mappings, assignment, duplicate handling, and validation.
Create a custom webhook
Use custom webhooks when a website, landing page, partner system, or approved middleware can send Lead data to Edmissa as JSON.
- Open Settings.
- Go to Integrations.
- Open
/t/settings/integrations/webhook. - Select New Webhook.
- In Endpoint, enter a Webhook Name and optional Description.
- Configure Security Settings.
- In Target, choose the pipeline, Lead Source, and default location when needed.
- Choose whether Edmissa should create student profiles and applications.
- In Fields, select the fields the webhook may accept.
- Mark selected fields as Optional or Required.
- In Assignment, choose how incoming Leads should be assigned.
- Configure duplicate handling and field validation.
- Review and create the webhook.
- Copy the Webhook URL and secret into the external system.
- Send a test webhook before using the connection for live Leads.
The webhook wizard uses these steps:
| Step | What to configure |
|---|---|
| Endpoint | Webhook name, description, signature verification, IP restrictions, and User-Agent validation. |
| Target | Pipeline, Lead Source, default location, and creation settings. |
| Fields | The Edmissa fields that can be accepted from the JSON payload. |
| Assignment | Lead assignment, duplicate handling, and field validation. |
| Review | Final check before Edmissa creates the webhook URL and secret. |
Webhook security settings
Use webhook security settings to reduce the chance that unwanted requests create Leads in your workspace.
| Setting | Use it for |
|---|---|
| Enable Signature Verification | Require the sending system to sign requests with a shared secret. |
| Signature Algorithm | Choose SHA-256 for new webhooks unless your sending system only supports SHA-1. |
| IP Restrictions | Allow all IPs, allow only specific IPs, or block specific IPs. |
| User-Agent Validation | Allow or block requests based on User-Agent patterns. This is an advanced control. |
When signature verification is enabled, the sending system should sign requests with the selected HMAC algorithm. The credentials card shows the expected header format, such as:
X-Signature-256: sha256={hmac_signature}Store webhook secrets securely. If you regenerate a secret, Edmissa shows the new secret once. Copy it immediately and update the external system. Requests signed with the old secret will be rejected.
If you regenerate the Webhook URL, the old URL stops working immediately. Update the external system before expecting new Leads to arrive.
Webhook payload format
The Webhook Credentials card shows the expected payload format. A typical JSON payload looks like this:
{
  "id": "unique_lead_id",
  "email": "[email protected]",
  "phone": "+1234567890",
  "firstName": "Jane",
  "lastName": "Stone",
  "formId": "optional_form_id",
  "source": "Website Contact Form"
}
Use the field keys shown in the Fields step. The Webhook Key column shows the exact JSON key to send for each selected field.
If you configure more than one form for a webhook connection, use formId to
route an incoming request to the right form setup.
Field mapping
Field mapping decides where incoming values go in Edmissa.
For Facebook Lead Ads, the Field Mapping step loads fields from the selected Facebook Lead Gen Form. Standard fields such as email, phone, first name, and last name are pre-mapped when Edmissa can match them. Review every row before submitting.
For custom webhooks, the Fields step lets you choose which Edmissa fields the webhook accepts. Selected fields can be Optional or Required.
Use this approach:
- Map name and contact fields first, such as email and phone.
- Map study interest fields, such as destination country, course interest, or intake.
- Map Lead Source when the external system sends a source value, or set a default Lead Source in Target.
- Include application fields only when a pipeline is selected.
- Skip fields you do not trust or do not need.
- Submit a test Lead and confirm the student profile and application show the expected values.
Mappings apply to new Leads only. Previously captured Leads are not changed when you edit mappings.
Target and creation settings
Target settings tell Edmissa what to create and how to route the Lead.
| Setting | Use it for |
|---|---|
| Pipeline | Choose where applications should be created. Leave it blank when the integration should only create or update a student profile. |
| Lead Source | Assign a consistent source to incoming Leads, such as Facebook Lead Form or Website Contact Form. |
| Default Location | Route Leads to a location when your workspace uses locations. |
| Create student profiles automatically | Let Edmissa create a student profile when a new Lead arrives. |
| Also create applications | Create an application for each new Lead. This requires a selected pipeline. |
For most first setups, create student profiles automatically and create applications only when the incoming Lead is already qualified for a known pipeline.
Assignment, duplicates, and validation
The Assignment step controls who owns incoming Leads and how Edmissa handles data quality.
Lead assignment
| Mode | What happens |
|---|---|
| No Assignment | New Leads enter Edmissa without an assigned user. |
| Single User | Every Lead from the integration goes to one selected user. |
| Round Robin | Leads are distributed across selected team members. |
Use No Assignment when an intake coordinator reviews all new Leads first. Use Single User for a channel owned by one counselor. Use Round Robin when a team shares new Lead follow-up.
Duplicate handling
Duplicate checking can compare incoming Leads against existing student profiles by email, phone, or full name.
| Option | What happens |
|---|---|
| Update Existing | New data is merged into the matching student profile. |
| Skip | The duplicate Lead is not imported. |
| Create Anyway | Edmissa creates a new student profile even if a match exists. |
Start with email and phone matching unless your team has a clear reason to use full name matching. Full names can create false matches when many students have similar names.
Field validation
| Mode | What happens |
|---|---|
| Skip Validation | Edmissa accepts the Lead without field validation. |
| Validate and Warn | Edmissa creates the Lead and stores validation warnings for review. |
| Validate and Block | Edmissa rejects Leads that fail validation. |
Validate and Warn is a good first choice because it lets admins monitor data quality without losing Leads during early setup.
Manage existing integrations
The Integrations tab lists configured integrations. Each row can show:
| Detail | What it means |
|---|---|
| Integration name | The connected form or setup name. |
| Provider | For example, Facebook Lead Ads or Webhook. |
| Connected account | The provider account connected through Apps. |
| Pipeline | The application pipeline used by the integration, when selected. |
| Lead count | How many Leads have been received through the integration. |
| Created date | When the integration was created. |
| Status | Whether the integration is enabled or disabled, and whether the app connection needs attention. |
Use the row actions this way:
| Action | Use it for |
|---|---|
| Edit integration configuration | Open the edit wizard for a Facebook integration. |
| Edit field mappings | Update how incoming fields map into Edmissa. |
| Enable or disable toggle | Stop or resume processing for that integration. |
The webhook list at /t/settings/integrations/webhook shows Webhook
Connections with status, form count, signature state, created date, and actions
to view or delete a connection. Selecting a webhook opens its details page.
On a webhook details page, admins can:
- Copy the Webhook URL.
- Regenerate the URL.
- Regenerate the secret.
- Send Test Webhook.
- View Event Log.
- Edit the webhook.
- Review Form Configuration.
- Edit form settings, configure field mappings, or activate and deactivate the form.
Review Activity
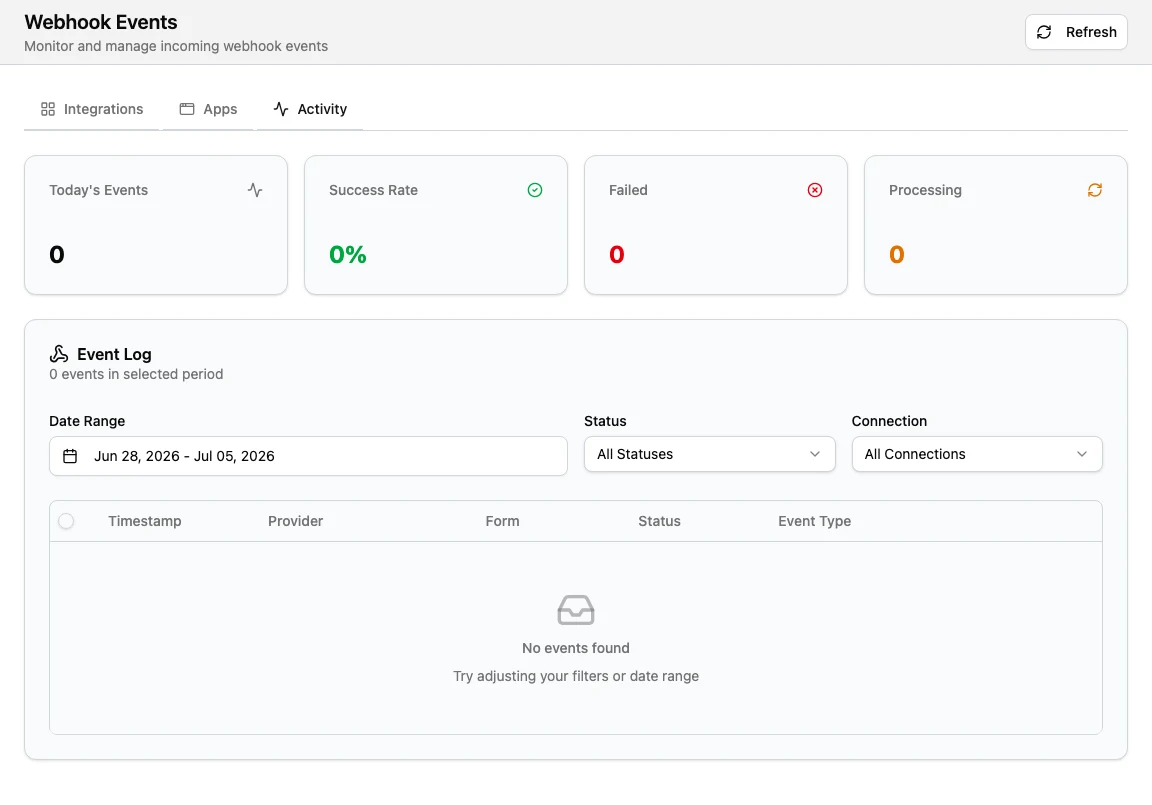
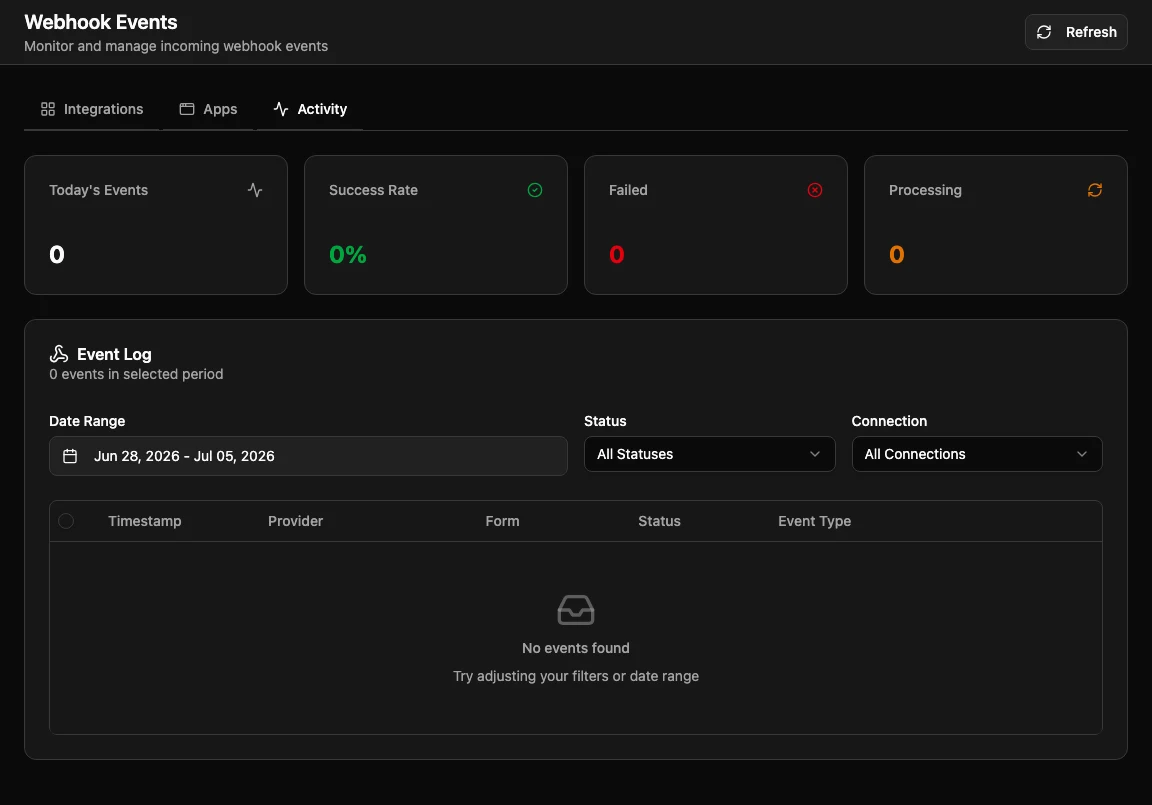
Use the Activity tab to monitor incoming integration work.
The direct route is /t/settings/integrations/events.
The Activity page shows:
| Area | What it tells you |
|---|---|
| Today's Events | How many events were received today. |
| Success Rate | The percentage of events that completed successfully. |
| Failed | Events that need attention. |
| Processing | Events that are received or being processed. |
| Event Log | A filterable table of incoming events. |
Use these filters:
| Filter | Use it for |
|---|---|
| Date Range | Review a specific time period. |
| Status | Filter by Received, Processing, Completed, Failed, Duplicate, or Validation Error. |
| Connection | Focus on one connected app or webhook. |
Selecting an event opens Event Details. The drawer can show:
| Section | What it shows |
|---|---|
| Event Information | Provider, event type, received time, retry count, and connected account. |
| Processing Timeline | Received, Processing, and Completed or Failed states. |
| Error Details | Error message and extra details when processing fails. |
| Lead Information | Name, email, form, status, and links to created work when available. |
| Payload Data | The raw JSON payload received by Edmissa. |
Failed and validation error events can be retried when retry attempts remain. Use Retry for one event or Retry Selected for multiple retryable events.
Test before launch
Run a small test before relying on an integration for live Leads.
- Confirm the connected app or webhook status is Active.
- Confirm the Lead Source, pipeline, location, assignment, duplicate handling, and validation settings.
- Submit one test Lead from the real source when possible.
- Open Activity and confirm the event reaches Completed.
- Open the created Lead or student profile and confirm the mapped fields look correct.
- If the integration should create an application, confirm the application is in the expected pipeline.
- Check assignment and notifications with the receiving user.
- Disable or fix the integration if the test creates unexpected results.
For webhooks, also use Send Test Webhook from the webhook details page. Then open View Event Log to confirm the test was processed.
Troubleshooting
Use Activity first when something looks wrong. The event details usually show whether the issue is authorization, validation, mapping, duplicate handling, or payload shape.
| Problem | What to check |
|---|---|
| No Leads arrive from Facebook | Test the connected account, confirm the Facebook Page and Lead Gen Form still exist, and reconnect the account if authorization changed. |
| No webhook Leads arrive | Confirm the external system is posting JSON to the current Webhook URL, and check whether the URL was regenerated. |
| Webhook requests are rejected | Check signature settings, secret value, IP restrictions, User-Agent rules, and payload format. |
| A field is blank | Confirm the incoming source field exists, the field mapping is saved, and the payload key matches the Webhook Key. |
| Leads are duplicated | Review duplicate matching fields and the duplicate action. |
| A Lead is not assigned | Review the Assignment mode and selected users. |
| An application was not created | Confirm a pipeline is selected and application creation is enabled. |
| Events show Validation Error | Open Event Details, review Error Details, then adjust field values, required fields, or validation mode. |
Recommended first setup
For a first Edmissa workspace, keep integrations simple.
| Setup | Recommendation |
|---|---|
| Facebook Lead Ads | Connect one Facebook account, configure one Lead Gen Form, map only fields your team uses, and test with one Lead. |
| Website form | Create one custom webhook for the main contact or consultation form. |
| Lead Source | Use clear source names, such as Facebook Lead Form and Website Contact Form. |
| Duplicate handling | Start with email and phone matching. |
| Validation | Start with Validate and Warn. |
| Assignment | Use Single User for owner-led intake or Round Robin for shared intake teams. |
| Monitoring | Review Activity daily during the first week. |
Add more integrations after the first channels are clean, tested, and trusted.
Related guides
| Guide | Use it for |
|---|---|
| Lead Sources | Create clean source names for incoming Leads. |
| Student Fields | Configure student fields that integrations can populate. |
| Application Fields | Configure application fields used when integrations create applications. |
| Application pipelines | Choose the pipeline where new applications should start. |
| Form templates | Understand how fields appear in user-facing forms after data enters Edmissa. |
| API Access | Manage tokens for trusted external tools. |
| Audit Logs | Review sensitive admin changes and connected-tool activity. |