

General settings
Set the agency profile, contact details, website, address, and country used across Edmissa.
General settings control the agency profile that appears across Edmissa. Use this page early in setup so users see the right organization name, contact details, website, and office address before they start daily work.
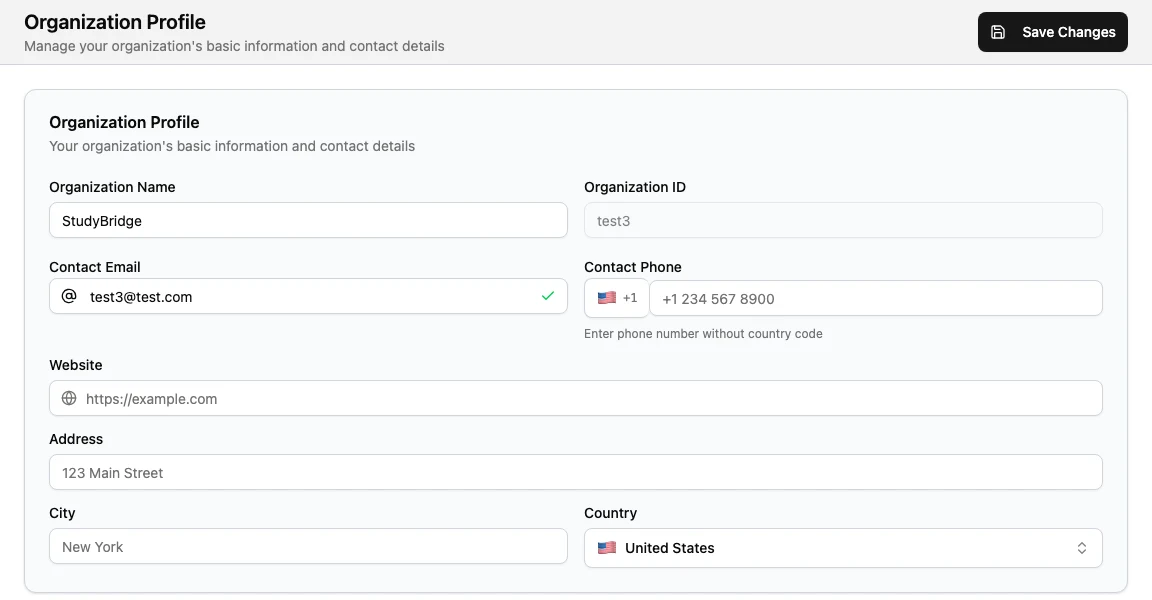
The page is labeled General Settings in the Settings menu. The screen title is Organization Profile because these settings describe the agency rather than one workflow.
When to Use General Settings
Use General Settings when your agency needs to:
- Set or update the organization name users see in Edmissa.
- Confirm the organization ID used in workspace URLs and internal references.
- Set the main contact email and phone number.
- Add the public website users can open or copy.
- Record the primary address, city, and country.
- Keep agency contact details consistent before configuring users, forms, locations, notifications, and exports.
General Settings is not where you configure time zone, currency, date formats, branding, roles, locations, or document collection rules. Use the related settings pages for those areas.
Before You Start
Prepare these details before editing General Settings:
| Item | Why it matters |
|---|---|
| Organization name | This is the name users see in the workspace. |
| Contact email | Edmissa requires a valid email before saving changes. |
| Contact phone | Helps users and support teams identify the main agency phone number. |
| Website | Gives users a consistent agency website link. |
| Primary address | Keeps exported and shared agency details consistent. |
| Country | Helps the team identify the agency's primary operating country. |
You also need permission to manage workspace settings. If you can open Settings but cannot open General Settings, ask an admin to review your role.
Open General Settings
- Open Settings.
- Open Company.
- Select General Settings.
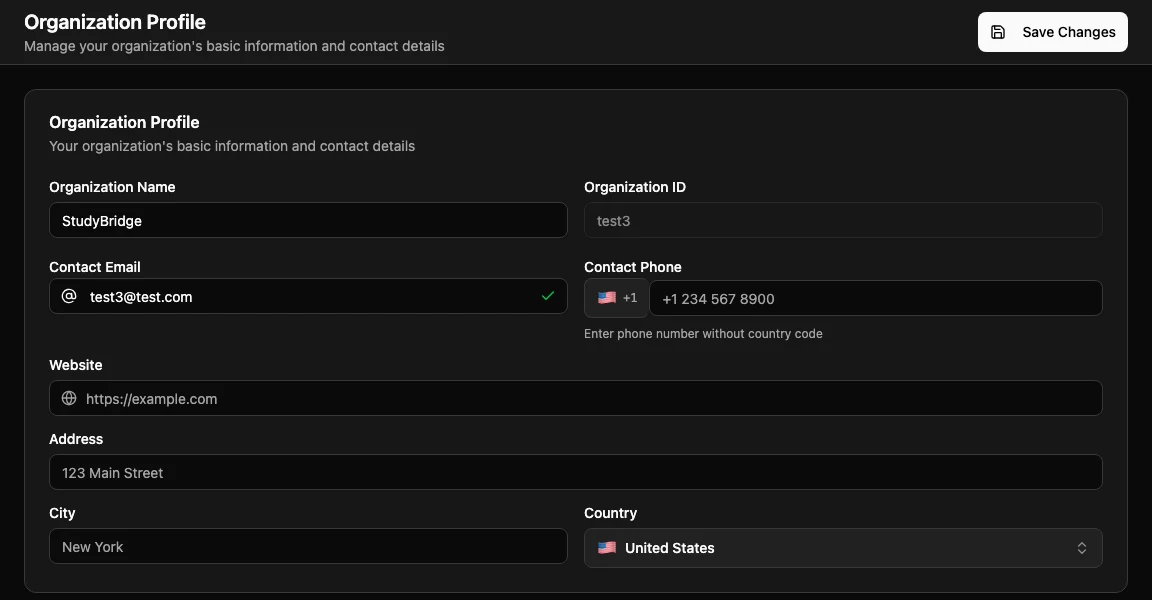
- Review the Organization Profile screen.
The Save Changes action appears in the page header. Select it after you finish editing the fields.
What Each Field Controls
| Field | What it controls | Notes |
|---|---|---|
| Organization Name | The agency name shown in the workspace. | Required. Use the public agency name users recognize. |
| Organization ID | The system-generated workspace identifier. | Read-only. It cannot be changed from this page. |
| Contact Email | The main agency email address. | Required. The value must be a valid email address. |
| Contact Phone | The main agency phone number. | Optional. Use an international format when teams work across countries. |
| Website | The agency website. | Optional. Edmissa validates the website and provides copy and open actions. |
| Address | The agency's primary street address. | Optional. Keep it consistent with official agency details. |
| City | The city for the primary address. | Optional. |
| Country | The country for the primary address. | Optional. Select it from the country list. |
Empty optional fields are saved as blank values. Use this when you need to remove an old phone number, website, address, city, or country.
Update the Agency Profile
- Open Settings.
- Open Company.
- Select General Settings.
- Update Organization Name if the agency name has changed.
- Review Organization ID so you know which workspace you are editing.
- Enter a valid Contact Email.
- Add or update Contact Phone.
- Add or update Website.
- Add or update Address, City, and Country.
- Select Save Changes.
Edmissa confirms the update after the settings are saved.
Validation Rules
General Settings checks a few values before saving:
| Rule | How to fix it |
|---|---|
| Organization Name is required. | Enter the agency name before saving. |
| Contact Email is required. | Enter the main agency email address. |
| Contact Email must be valid. | Check the spelling, domain, and email format. |
| Website must be valid when provided. | Use a complete web address such as https://example.com, or clear the field. |
If validation fails, correct the highlighted value and select Save Changes again.
What Not to Configure Here
Use a more specific settings page for these areas:
| Need | Use |
|---|---|
| Time zone, date format, time format, currency, language, or week start | Regional settings and country and region configuration. |
| Branches, offices, and location assignment | Locations. |
| Workspace colors, logo, or visual theme | Appearance settings. |
| User accounts, roles, and access | Users, Roles, and Permissions and scope. |
| Reference number patterns | Number Formatting. |
| Files students and applications can collect | Document types. |
| Notifications and message timing | Notifications. |
Recommended First Pass
For a new Edmissa workspace, complete General Settings before inviting the full team.
- Save the correct organization name and contact email.
- Add the main website and phone number.
- Add the primary address and country.
- Open Regional Settings and confirm time, date, and currency defaults.
- Add locations if the agency has more than one office or operating branch.
- Invite users after the agency profile and location basics are correct.
This order gives users a stable workspace identity before they create student profiles, applications, forms, documents, and notifications.