

Lead capture
Troubleshoot incoming Leads from integrations and Lead capture channels.
Use this guide when an expected Lead did not appear, arrived with missing data, failed review, or did not convert into the next student workflow as expected.
Lead capture issues usually come from the source setup, webhook connection, field mapping, assignment rules, duplicate handling, or the user's current Leads view.
How Lead capture works
A connected channel sends student interest into Edmissa. The channel can be a public form, connected app, Facebook Lead Ads form, website form, partner system, or custom webhook.
The normal path is:
- The external source sends the submission.
- Edmissa records the event in integration activity when the channel supports event tracking.
- Field mapping places incoming values into the right Lead, student, or application fields.
- Assignment and duplicate rules decide how the Lead should be handled.
- The Lead appears on the Leads page for review.
If any step fails, start with the Activity page and the Leads list before changing configuration.
Check the Leads page first
Open Leads and clear the current view:
- Select All in the status tabs.
- Clear the search box.
- Remove source filters.
- Refresh the list.
Then check these statuses:
| Status | What to check |
|---|---|
| Pending | New Leads that still need review. |
| Ready | Leads that are received and ready for a user decision. |
| Converted | Leads that already created or connected to a student profile. |
| Reviewed | Leads that were checked but not converted or rejected. |
| Duplicate | Leads matched to an existing student profile. |
| Rejected | Leads marked as spam, unusable, or not worth action. |
| Failed | Leads that need an admin to review the source, mapping, or data. |
Use the Source filter if the team knows the channel, such as Public Forms, Facebook Lead Ads, Google Forms, Typeform, Jotform, or Generic Webhook.


If the Lead appears in Failed, open it and review the available details before changing settings. Failed Leads often point to missing required data, field mapping problems, or a source payload that does not match the expected format.
Check Custom Webhooks
Open Settings, go to Integrations, then open the Custom Webhooks page
at /t/settings/integrations/webhook.
The Custom Webhooks page shows:
| Area | Use it for |
|---|---|
| Webhook Connections | View configured webhook connections and open a connection to configure forms. |
| New Webhook | Create a new webhook connection. |
| Refresh | Reload the connection list. |
| Integrations, Apps, Activity tabs | Move between setup, provider apps, and event review. |
| Quick Start Guide | Confirm the basic webhook setup sequence. |
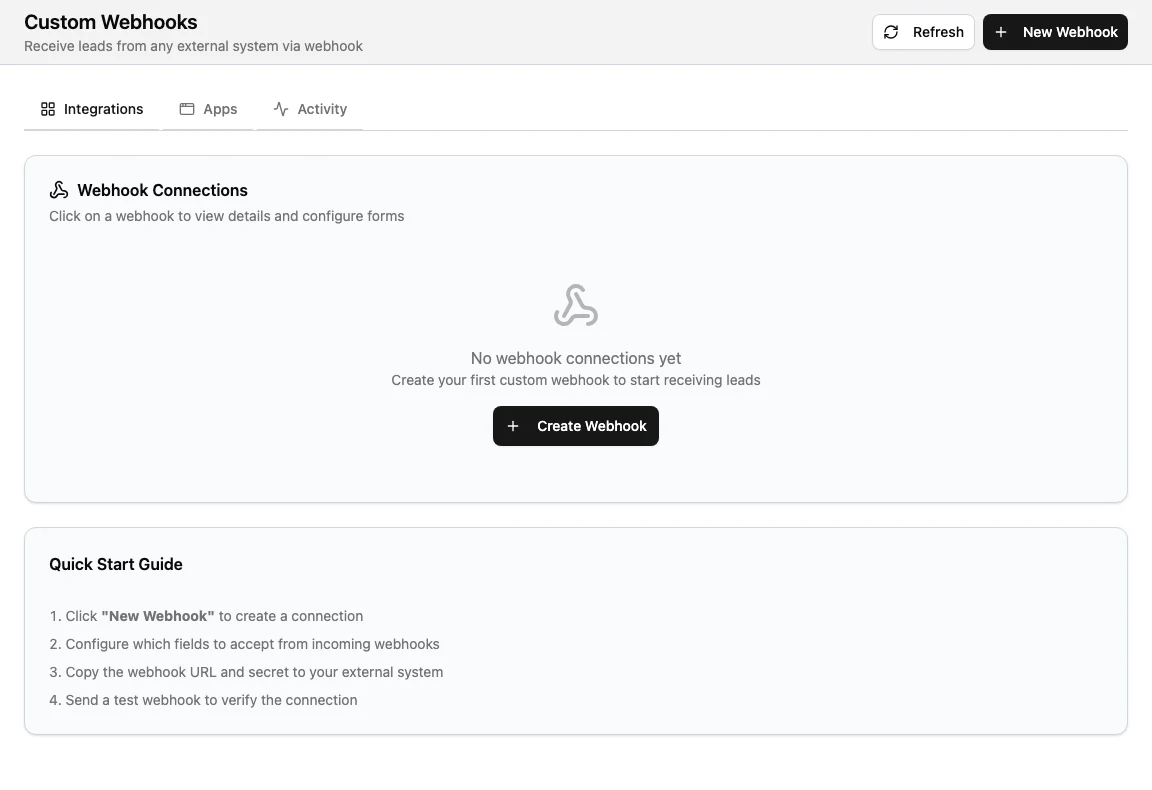
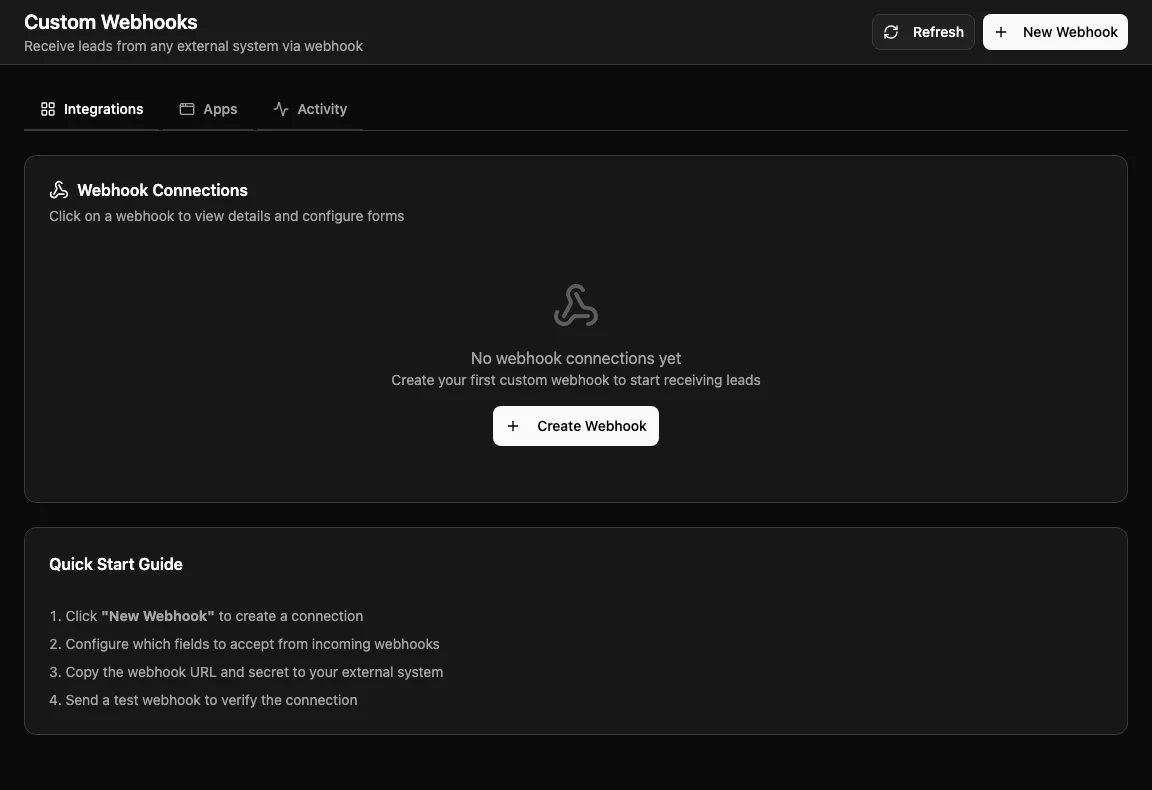
If the page says No webhook connections yet, the sending system has nowhere to send the Lead. Create a webhook connection first, then copy the webhook URL and secret into the external system.
Check Activity
Open Settings, go to Integrations, then select Activity.
The Activity page is where admins review incoming webhook events. It includes:
| Control | Use it for |
|---|---|
| Date Range | Make sure the event date is inside the selected range. |
| Status | Check all statuses before narrowing to success, failed, or processing states. |
| Connection | Filter to one webhook connection when several are configured. |
| Event Log | Open event details when events exist. |
| Retry | Reprocess events that are eligible for retry. |
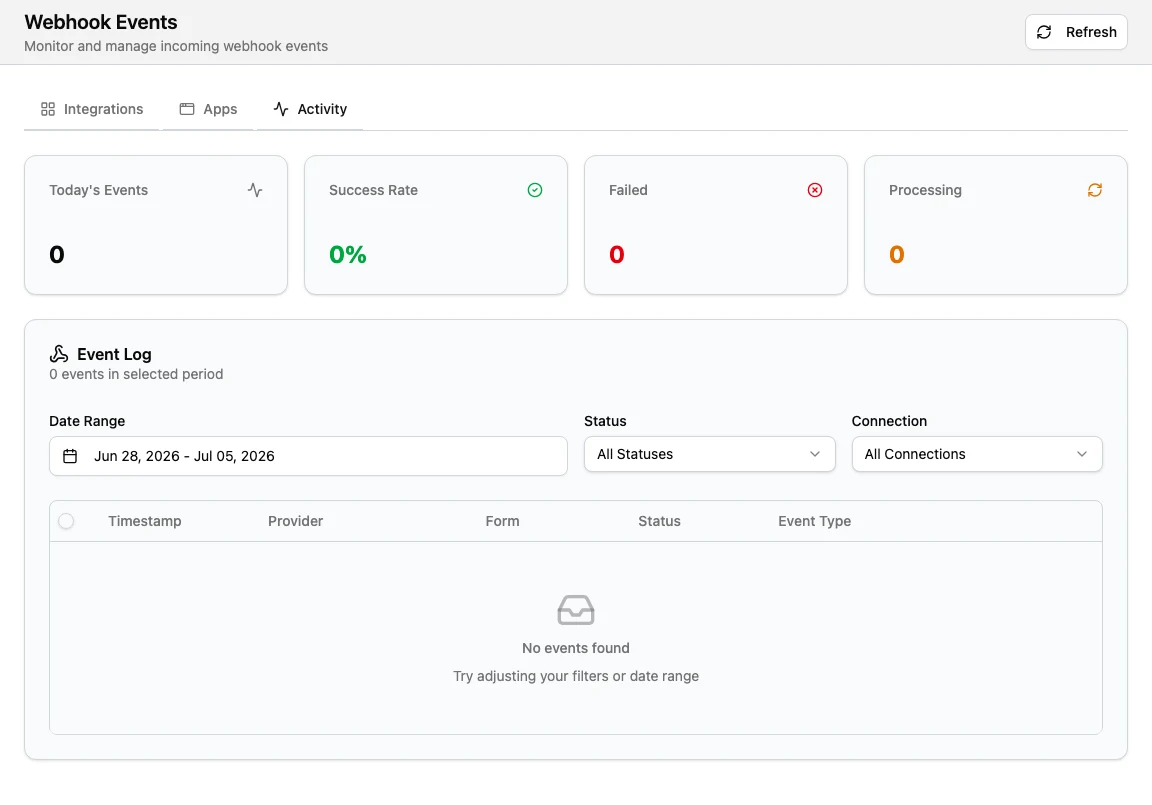
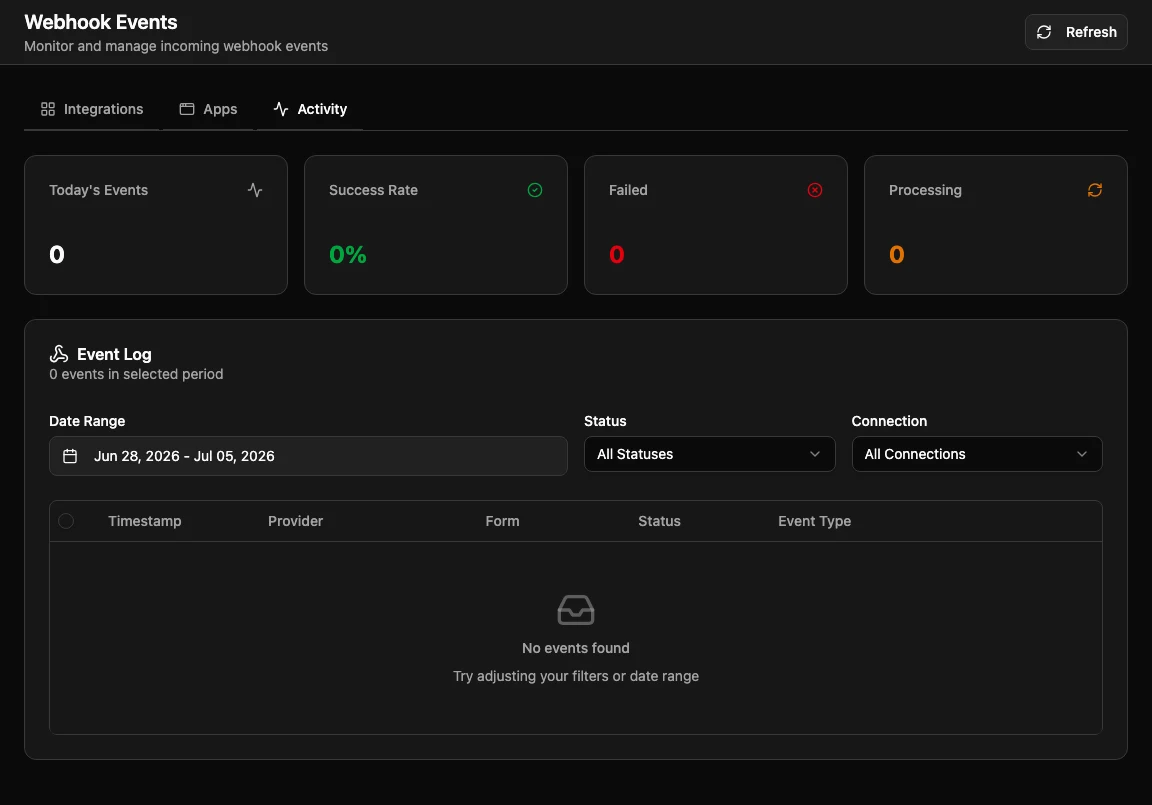
If Activity shows No events found, check the date range and connection filter first. If the filters are correct, the external system may not be sending to the current webhook URL.
Lead did not appear
Use this checklist:
| Check | What to do |
|---|---|
| Correct workspace URL | Confirm the external source is sending to the current webhook URL. |
| Webhook connection | Confirm the connection exists and is active. |
| Date range in Activity | Expand the date range and set status to all statuses. |
| Source filter in Leads | Clear the Leads source filter and choose All status. |
| Required fields | Confirm the payload includes the fields marked required in setup. |
| Signature or secret | Confirm the external system signs requests with the current secret when signature verification is enabled. |
| Duplicate rules | Check whether the Lead was marked duplicate or connected to an existing student profile. |
| Feature access | Confirm integrations and Leads are enabled for the workspace. |
Do not recreate the webhook until you know whether Edmissa received the event. If Activity has an event, fix the configuration or mapping. If Activity has no event, fix the sending system or webhook URL.
Lead arrived with missing data
When the Lead exists but values are missing or placed in the wrong field, check field mapping.
| Symptom | Likely cause | Fix |
|---|---|---|
| Name, email, or phone is blank | The source payload key was not mapped. | Map the source field to the correct student field. |
| Study details are missing | The field does not exist or was not selected for the webhook. | Add the field in field setup, then include it in the webhook field selection. |
| Application details are missing | The source was mapped only to student fields. | Map application-specific values to application fields when the workflow creates applications. |
| Value appears under the wrong label | The source key points to the wrong configured field. | Correct the mapping and test with a new sample Lead. |
| Required value causes failure | The source did not send a required value. | Either send the value or make the field optional if the agency can review it later. |
Use Student fields for values that belong to the student across their work with your agency. Use Application fields for values that belong to one application.
Lead did not assign correctly
Assignment can be configured during integration setup. If the Lead appears but the owner is wrong or blank, check:
| Check | Why it matters |
|---|---|
| Assignment setting | The integration may be set to leave Leads unassigned. |
| Selected user | The chosen user may be inactive or missing the right access. |
| Location | The Lead may be connected to a location the user cannot access. |
| Source setup | Different sources can use different assignment rules. |
| Manual changes | A user may have reassigned or removed the assignment after capture. |
If the Lead is useful but unassigned, assign it from the Lead detail panel or bulk assign it from the Leads list.
Lead did not convert
Conversion depends on the Lead status, user permissions, duplicate handling, and the configured next step.
| Symptom | What to check |
|---|---|
| Convert action is not visible | The user's role may not allow Lead conversion. |
| Conversion fails | Required student fields or application fields may be missing. |
| Lead becomes Duplicate | Matching rules found an existing student profile. |
| Student profile was created but application was not | The source may not be configured to create applications, or the pipeline setup may be incomplete. |
| Lead stays Reviewed | The user marked it reviewed instead of converting it. |
Before converting, search for an existing student profile by email and phone. This avoids duplicate student profiles.
When to ask an admin
Ask an admin to review integration setup when:
- Activity shows failed events.
- The webhook secret or URL may be wrong.
- Required fields are missing from many Leads.
- Several Leads from one source are marked Failed.
- Leads are assigned to the wrong users.
- The source should create applications but does not.
Admins should test with a safe sample Lead before relying on the channel for live student follow-up.
Related guides
| Guide | Use it for |
|---|---|
| Leads | Review, assign, reject, convert, or connect Leads. |
| Integrations | Configure connected apps, custom webhooks, mapping, assignment, and Activity. |
| Lead sources | Manage the source values used for Lead reporting and routing. |
| Fields | Create the fields that mapped data can fill. |
| Finding records | Check search, filters, status tabs, and scope before changing setup. |